Master your GoPro – How to get Epic Travel Photos & Video
Right out of the box a GoPro is able to take some great photos and videos while traveling, but with a little know-how you can take more of your shots to EPIC status. After more than 5-years of daily use with my GoPro’s, I have learned a few GoPro tips that work.
There’s no magic or special software or equipment needed, just a few little tips & tricks that will make a big difference. Here’s my guide on how to get better travel photos and video from your GoPro.
GoPro Tips
Whether you’re a GoPro Beginner or you have been using your camera for a while, these tips will help you take better shots in no time.
Jump to:
- Beginner GoPro Tips
- GoPro Photo Tips
- GoPro Videos Tips
- GoPro Video Editing Tips
- GoPro Timelapse Tips
- GoPro Underwater Tips & Tricks
- GoPro FAQ
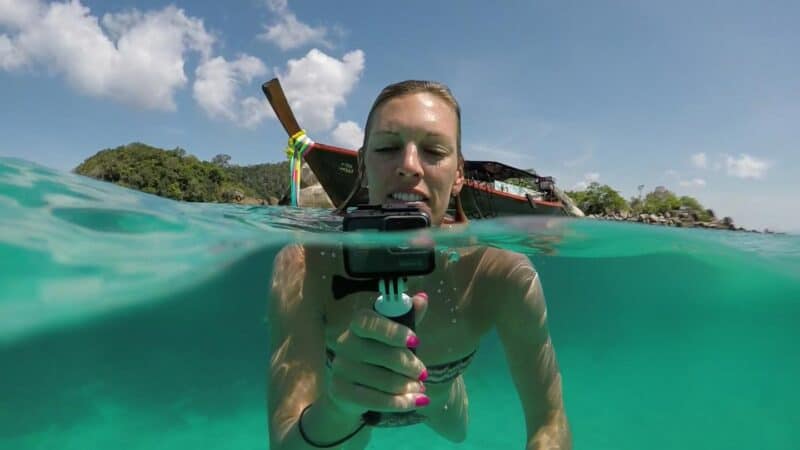
GoPro Tips for Beginners
If you’ve had your GoPro for a while and are pretty comfortable with it already, then skip down to some of the more advanced sections. For those of you who just bought a GoPro or are justing getting around to taking it out of the box for an upcoming trip – this section is for you.
Practice makes perfect
The best tip I can give to new GoPro users is to just start using it. Take it with you on your next trip to the park or make a special trip. Whatever you do, make sure you have a good handle on the controls before you take a vacation or really want to use it.
Buy an extra Battery or two
There are many things GoPros are great at, but battery life isn’t one of them. From the Hero 5 and more recently, the battery life is much improved, but you still don’t want to miss out on photos and videos while you are traveling because of a dead battery. Buy Now On Amazon Only $17
Get some accessories
To take get the most out of your GoPro you really should pick up a few accessories that fit the ways you hope to use the action camera. Whether it’s a simple handgrip or a suction cup or even a GoPro dome – one of the first things you should do is get some gear.
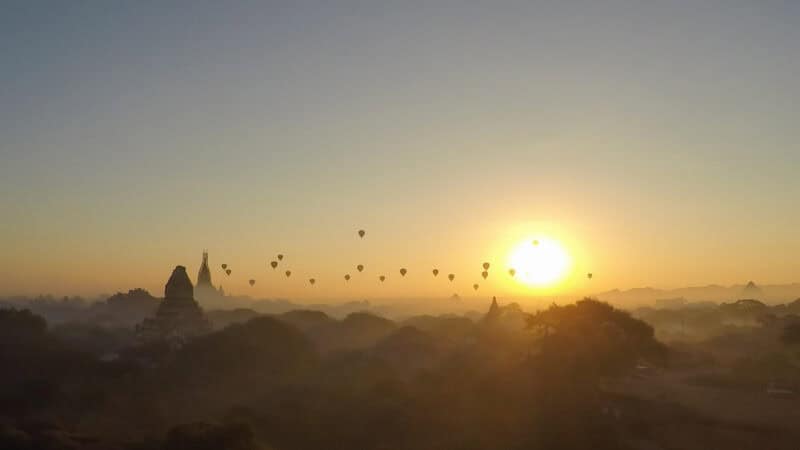
GoPro Photography & Photo Tips
Keep Your Back to the Sun
The GoPro’s do pretty well shooting outdoors with a good dynamic range and nice colorful images. However, you can make those colors and details even better in your photos by doing this one simple thing: Keep the camera between the sun and the subject!
Have you ever noticed when you take a picture and the sun is in the frame everything else seems too dark? That’s because the GoPro is trying to give you a balanced photo, but the sun is just too bright. Instead, use the sun to light up your subject. This way your shot has much more even brightness range and will turn out way better.
Get Close
GoPro’s are great at catching the action, all 170° of action. The GoPro does this with a super wide-angle lens. Which in most cases works really well, but you need to keep in mind how this affects how large things will appear in your pictures. The GoPro see things differently…
Compared to the human eye, things will be a little more than 2.5x times further away on a GoPro. So what I always tell people when they have a GoPro without a back screen is to get closer, and when you think you are close enough, get another step even closer.
Utilize the Burst Mode
Do you want to freeze an epic moment in time? That’s what the burst mode is for. Even the top end DSLR’s are only capable of shooting 5-10 photos per second, but a GoPro can snap 30. The burst mode has a ton of uses and I am constantly coming up with new ones. Do you have a friend that can’t seem to ever get the jump photo quite right? Use the burst mode and you’ll catch them no matter how short their hang time.
One of my favorite shots I caught using the burst mode was of a sea turtle coming up for a breath off the shores in Mexico. I figured out that about every few minutes the turtles have to come up for a breath of air, but they do it so quick it’s almost impossible to time a shot. I switched to burst mode a swam close to the turtle just as it was about to take his breath and I got 30 shots of him. Later I was able to pick my favorites to share when I got back on shore.
Don’t be Afraid to Get it Dirty
The thing I love most about my GoPro’s is that I can take them places I would never bring any other camera. My GoPro’s have been inside of the mouth of a Cheetah, in a WWII shipwreck 120 feet deep in Coron Philippines, plastered in mud aboard an ATV in Alberta, hanging out of a shark diving cage in South Africa, and even driven over by a few safari trucks. The durability and the fact they are water/dustproof allows for one of a kind shots that aren’t possible with any other camera.
Keep People in the Center
The super wide-angle lens that allows you to catch action shots has one small side effect of the edges of the frame being stretched. Most times you don’t even notice this happens, however when you have a person on the very edge of the frame you might notice their faces can become distorted.
Keep in mind when shooting people make sure they are towards the center of the frame. This effect is more amplified the closer you are to your subject.
GoPro 3 -Way The Best Selfie Stick & Tripod In One
Compose Your Shot
Something that holds true for all photos no matter what camera you use is a great composition. Sometimes it can get lost in the heat of the moment, but with a little planning, you can catch something epic with a classic composition.
The easiest and most widely accepted composition is “The Rule of Thirds”. Meaning that if you divided you frame up into three equal part vertically and horizontally you’d have lines that intersected at 4 points where two 1/3 lines meet. If you can place the main focus of your photo at one of those points you’ll have a much stronger photo.
Another thing to keep in mind while shooting action or adventure sports is to leave room in the frame for your subject to visually ‘go’. For example, if you taking pictures of a surfer – leave more room in your picture in the direction they are heading and don’t have the tip of the surfboard at the edge of your frame. Sounds simple enough, but many times composition is the difference between average and epic.
Connect for more Epic-ness
Using the built-in WiFi you can add even more versatility to the GoPro. Selfie sticks and poles are great, but taking a posed shot while connected to the remote or phone app will give you the same great shot without your arm, or worse, the stick in the frame. This also works great when putting the camera out of reach or in front of something really cool. I love connecting to the app with the GoPro stuck to the windshield with the suction cup mount.
Try Out the Time Lapse Function
Time lapses are awesome and I could watch them for hours on end. The GoPro makes it super easy to shoot them with a built-in mode, but true time-lapses aren’t the only good thing this mode is good for. You can use the time-lapse mode to take a bunch of shots for a group picture to give yourself a better chance of everyone having their eyes open.
Try time-lapse mode at 0.5 seconds on the end of a selfie stick to get the perfect selfie without a remote. I also use this mode sometimes while diving and snorkeling with the GoPro at the end of a pole to catch colorful reef fish without my hand on the camera scaring them away.
Shoot in RAW format
If you are looking for the highest quality GoPro photos then you might want to consider taking RAW photos. The only downside to this is that these RAW files will need to be edited to take full advantage – if you don’t plan on editing you’ll probably want to stick to standard jpegs.
However, if you want to unlock all the photo potential of you GoPro then try RAW photos which takes the image right from the camera’s sensor. It has a lot more information to it and allows you to make bigger edits on your GoPro photos. Starting with the Hero 5, all of the Hero Black models have this functionality.
Grab a Still From a Video
I love the GoPro for both photos and videos and sometimes when I am taking a video I wish I could have a picture of that too, and with a little software help, I can. Most common video editors have an option to easily export a single frame into a picture, but if you don’t have one of those the GoPro Studio can do it for you too.
I always make sure to have my video settings turned as high as I can for the best quality. If you find yourself doing this a lot like I do, then make sure you have the frame rate set to 60 fps meaning every second the GoPro will record 60 frames. This allows crisper still images to be exported from your videos.
Use the Accessories
As side from being waterproof and taking great pictures, the fact that there are hundreds (if not thousands) of ways to attach a GoPro to yourself or anything, makes it incomparable to any other camera. Take advantage of this one of a kind ability and get creative with it.
My favorite accessories are the suction cup mount, head strap (get a cheap one like this on Amazon for $6), and the handlebar mount (not any cheaper on Amazon). I think I have just about every GoPro mount known to man, but these are the ones I find myself using the most. I’ve had the suction cup stuck to the windows of safari trucks all over the world, outside of cable cars 1000’s of feet in the air, and on the inside of plane windows.
I love the head strap mount because it’s both stable and super versatile. Sometimes I don’t even wear it on my head. Lastly, the handlebar mount gives me a sturdy mount on anything with a round shape from handrails to the bars on the front of an ATV. Oh, and I use my GoPro on my tripod a lot so a tripod mount is always in my bag too.
The GoPro has become an indispensable tool for me to capture one of a kind images while I travel. It’s an HD full-function video and still camera that fits in my pocket that I can stick anywhere and beat the crap out of and it always brings me back epic images.
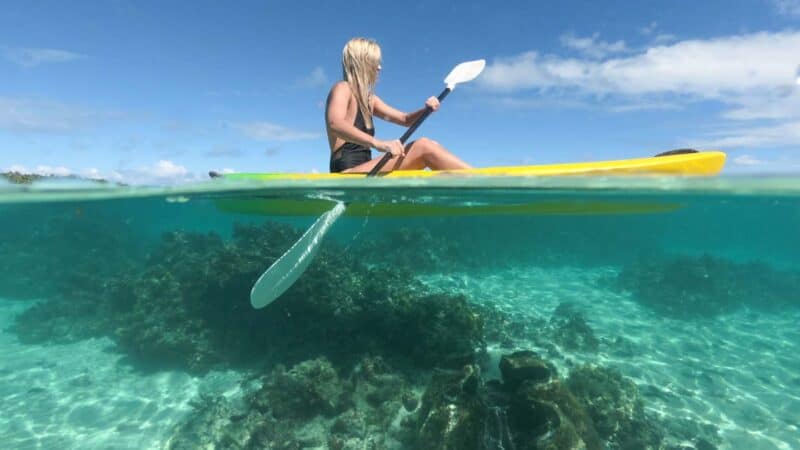
GoPro Video Tips
When it comes to GoPro video, the most important things is to get lots of good, usable clips. If you watch a lot of videos on YouTube most of them are pretty shaky and pretty unimpressive. GoPro’s are capable of getting one of a kind unique content, but you have to harness that filmmaking power into something people actually want to watch.
Here we are going to show you ways to get more quality usable footage from your GoPro. Make your next travel video better with these quick and easy tips.
Tell a Story
The most important part of having a great GoPro video is that you tell a complete story. Make sure to film all of the things leading up to the main event you plan on filming to give your video context. Make sure that your video has a beginning, middle, and end. Too many videos start right at the action without showing the viewer how they got there, where they are, or why they should care. Great footage is nice, but great footage that tells a story is actually great.
For example, if you are going on a surf trip, you’ll want to film more than you shredding waves on your board. If it’s an international trip tell the whole story by starting filming in the airport on the way to the destination. Capture your emotions, if your comfortable talk to the camera about how you’re feeling in that very moment, if you’re not comfortable – do it anyway, it will help you get comfortable and if you don’t like it leave it out when you edit your video. Let the people watching your GoPro video feel and see everything you are.
GoPro Gimbal or Stabilizer
The most distracting thing while watching videos is shaky footage. The best way to beat shaky shots is using a gimbal. These accessories are best for walking shots and filming B-roll. The downside of gimbals is that they are much more fragile than your GoPro and can’t be banged around a lot.
They are also not waterproof, so this will limit how much you can use a GoPro gimbal. However, if you are serious about making great GoPro videos, these are a must. We have this Feiyutech gimbal for $239 but would suggest the GoPro Grip gimbal we are getting that next it’s much better as it was made for GoPro cameras.
Shoot with your edit in mind
There’s nothing worse than getting back from a day filming with your GoPro only to realize you didn’t get the clips you needed to tell your story and make your video. A five-minute planning session before the day starts will make a huge difference in the editing room.
To take that one step further, if you want a certain style or a particular type of transition to your GoPro video make sure you plan it out and make sure to get those shots. An example of this is a video that has a repetition of you walking at the camera in different locations on your trip.
Use Higher Frame Rates
Another way to get smoother footage without a gimbal is to use higher frame rates to get good slow-motion footage. Record fast action scene in very high frame rates like 120fps or the highest your GoPro will allow. When you go to edit your GoPro video, you can slow the footage down significantly enhancing the look and making it a lot smoother.
- 60fps – up to 2.5x slow motion
- 120fps – up to 5x slow motion
- 240fps – up to 10x slow motion (GoPro Bullet time)
Take a variety of clips
No one whats to see you snorkeling underwater for 5 minutes straight pointing your GoPro at a fish under the water. Instead get shots of the boat ride, a view of the bow of the boat, the wake the boat makes, scenery on the ride, a time-lapse of the boat ride, you jumping in, then give the camera to a friend underwater and jump in again, then swim with them filmed selfie-style, and then put a clip or two of the coolest fish you saw. There is so much more than just the couple of fish you saw that makes a better story and ultimately a better GoPro video.
Also try and film various angles of the same thing – wide, very close up, straight down, really high, or really low angles, mix it up and get creative. You’ll be happy when you start to edit when you have lots of clips to choose from.
Take Shorter Clips
All too often when I first started shooting video with my GoPro I would take these massive several minute long clips with one really cooling thing somewhere in the middle. Then when I got back from a trip trying to remember where in this super long clip that one thing I actually want to show was.
On the flip side, you don’t want to miss the action. So, if you are going to keep the camera rolling, try and stop the footage periodically when you know there is going to be a break in the action and restart it, this will speed things up when you want to edit later. Also the shorter the clips the easier it will be able to edit because your computer will handle the smaller files sizes better, especially if you have an older computer.
Use a Tripod
Another pro tip is to always have a little travel tripod for your GoPro. We love a gorilla pod and a tripod mount. This gives you tons of options to hang, mount, or steady your GoPro for stationary shots. As great as shots with movement are, you still need some nice steady shots in your video.
If you don’t have a tripod or forgot your tripod set your GoPro on a rock or railing or anywhere it can sit, safely, to have the same effect as a tripod. This is great of a shot of you walking by to establish a shot or give a sense of place. This is also great for time-lapses, which are good to mix into your videos.
Get Closer
Since the GoPro camera is so wide and it can lead to most of your clips feeling far away and look too much the same. Vary your shots and take time to get real close, but when you do that make sure to avoid using the ‘Wide’ settings to avoid fisheye effects.
Don’t shoot into the sun
If you are using the automatic modes of the GoPro, the camera is constantly adjusting the settings to give you a balanced photo, but when you point the camera toward the sun the bright skies will make the camera adjust the footage darker to compensate. If you can instead keep you back to the sun when you film your footage will look much better. While this might not always be possible, it’s a great tip to follow as often as you can.
Keep something steady in your frame
Another way to make fast-moving action footage feel a bit more stable to keep something not moving in the frame. Our tip to do that is to mount the GoPro in a way where part of an important object stays in the same spot in the frame through the clips.
For example, if you are mountain biking quickly down a hill, if you can mount the camera to the bike in a way where you will always see the handlebars or the front tire, the footage will feel more stable – even if it’s very bumpy.
Use the app
Keep your clips nice, short, and high impact by using the GoPro App when you are not right next to the camera. This is great for filming yourself doing things on a trip to give a feeling that someone else is filming you.
Another time I use the app is when I have the GoPro mounted somewhere like on a suction cup outside the car. From the app, I can start, stop, and change the settings of the camera remotely. Using the GoPro app is another tip to get even more from your accessories and camera.
Have a plan or script
A more advanced tip when filming with your GoPro is to plan out your shots before the trip to make sure you get what you need to edit a good video. This doesn’t have to be a lengthy process, but as you start to take your videos more seriously it can really help. Even if it’s on a piece of scratch paper or a napkin having a 5-minute plan with make your videos significantly better.
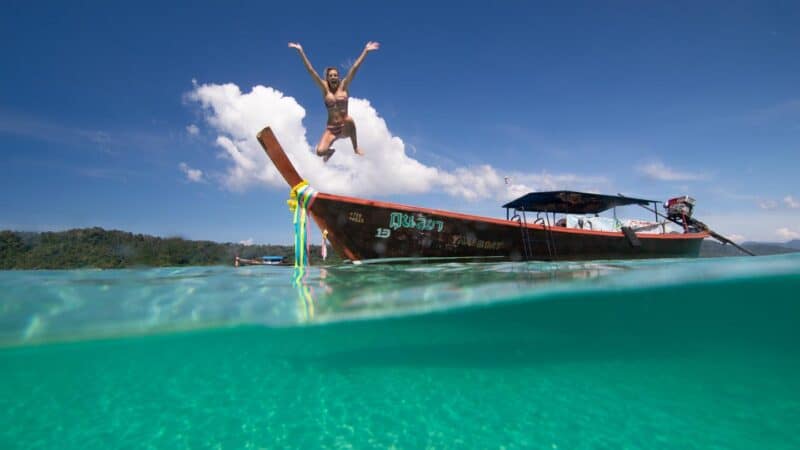
GoPro Video Editing Tips
By far the hardest part of the creative process of making a GoPro video is editing the video into something that looks as epic as the trip was. Here are a few tips we learned from many years of filming and editing using GoPro cameras.
Tell A Story
Fun flashy edits are good, but a video that tells a story is great. The difference between a good video and something that ends up looking like a bad home movie – is the story! The biggest problem with most videos is that they don’t really tell a story. They are just a mix of clips that don’t communicate what really happened or compel anyone to watch it.
When I say story, it doesn’t even necessarily have any words. You can still tell a story visually by walking the viewer through the trip or experience. However, some of the best videos do have people in them talking, or at least as the main character.
Pick your music first
After a story, the most important thing to edit is the music. you want a song that fits the mood of the footage – you wouldn’t want a slow guitar song playing while you’re skydiving. The mood and the pace of the song should fit the footage and the feel of the video you are planning to make. Pick your music first is important for the tone but also for how you clips fit into the video.
My best GoPro Editing tip is that you should always be 100% set on your song before you start editing, especially if you plan to make your cuts to the beat.
Edit to the beat
One of our favorite GoPro Editing tips is to put your footage to the beat of a song. Adding music will give a level of polish to your video as well as keep people watching longer. Like the tip above states, it’s always best to pick your song first as that sets the pace of the video.
Mute the recorded Audio
Unless people are talking or you really want people to hear what is going on, the audio you get from your GoPro usually doesn’t add much to the video – and a lot of times it’s super distracting. This tip is especially true when you are holding the GoPro by hand or underwater.
The microphone seems to capture a lot of creaking and mechanical sounds of your hands moving on the GoPro. Bad audio can be very distracting and will often be the reason why someone stops watching a video – even more so than shaky video.
Use the lens correction tools
when filming in the wide modes of the GoPro you can correct the fisheye effects that the lens has on your footage. Most video editing software have presets built-in for GoPro cameras. However, test it out – sometimes it has negative effects on your footage, especially when filming people.
Alternate clips
One of the best tips I could give someone new to filming with a GoPro is to make sure you get a variety of very different looking clips. Don’t just point the camera in the way you are looking, a video that is all first-person view isn’t going to be as good as a video that has lots of different angles and shot types.
Get creative and mount your GoPro in a few different places throughout the day or activity – some will work, others won’t, but you’ll have much better odds of getting some great stuff if you try lots of things.
Keep the clips short
Ideally, you want to keep your clips only as long as they need to be to show people the important parts of the scene. In general, that is going to be less than 10 seconds, but in popular modern videos most clips are 2-3 seconds – and 10 seconds can seem like a lifetime unless something really epic is happening.
Use some Slow motion
Some of the coolest footage is from things that happen very fast, and slowing it down can really enhance your videos. Use the video editing software to slow down the clips, but don’t slow them past what they are capable of it will look stuttery. For example, if you have footage shot in 120fps, if you are editing it in a 30fps timeline in your editor you shouldn’t slow it down 4x or 25%, anything slower the editor will not have enough frames and it will look stuttery.
Another Tip: Edit your videos to 24fps, this allows further slow motion and can give your GoPro footage a more cinematic feel. With a 120fps clip, you can slow it down 5x on a 24fps timeline when editing.
In addition to just making to cool stuff happen slower and longer, it can help your less epic shots look smoother. Slowing clips down will give the feel that they are smoother because any movement in the footage will also happen slower and look less shaky.
Mix in some Speed Ramping
An advance editing tip is to use a technique is called ‘speed ramping’. This is where a clip changes speed within the same clip. For example, someone jumping off of a boat could start fast and then just as they are about to hit the water slow it way down, then back fast again after they are part way into the water.
This technique allows you to highlight the best parts of your GoPro footage while adding a fun effect. If you plan on doing this technique you should film in as high of a frame rate as you can. Which on newer GoPro’s that is 120fps or 256fps (frames per second) – the higher the frame rate the slow you can make your footage without it getting stuttery.
Use the Quik App
If you want an easy what to edit your GoPro Footage you can actually do it really quickly right in the GoPro Quik app. Simply open it up and start a new project with your clips and the software does the hard part for you.
If you want to take it to the next level you can make adjustments to the video that much better. You can set highlights to the frames that you really want to showcase and then the app with take care of the hard part of editing your video to the music.
Quik will cut and transition your footage right to a song you select from their audio library, and there is actually some pretty good tracks. While it lacks some flexibility for advanced editors, it turns what can take hours into minutes of editing time.
Watch your GoPro Video like a stranger
It’s easy to get lost in the footage while you are editing and not tell the whole story. Before you publish your video watch it from the perspective of someone who wasn’t there with you and ask yourself if the video is interesting enough to share or does it tell the story you were hoping. If you have a friend you don’t mind showing, share it with them and ask for their feedback.
Watch other people’s videos
The best way to see what is possible with video editing is to watch other videos. Watching what other people are doing with their GoPro footage will help you be more creative while filming and make better use of the footage you’ve already shot.
Watch How to Videos on how to edit your footage
If there is something you are trying to figure out, the chances are there is a video about it. YouTube is the best place to find videos on how to make videos too! No matter what software you are using there is probably a video that tells you how to use it and even how to make specific edit types.
Edit, Edit, Edit.
Video editing is something that comes with time. The more videos you edit the better your videos will become. The first videos that you edit will take a while and they might not be super flashy, but that’s ok.
This is a learning process, and the only way to learn is to edit videos. I look back at some of my first GoPro videos and I cringe, but I am glad I made them, each and every video I edit makes me a better video editor.
GoPro Timelapse Tips
One of my favorite things to film with my GoPro are time-lapses. They are easy to shoot and really add a lot of production value to a GoPro edit. Start taking better time lapses today by following these simple GoPro time-lapse tips.
Frame the best composition for your timelapse
One of the most important considerations when taking a time-lapse, or any photo or video for that matter, is the composition. Also called framing, this concept is the process of choosing what is going to be in your shot and how it’s positioned in the shot.
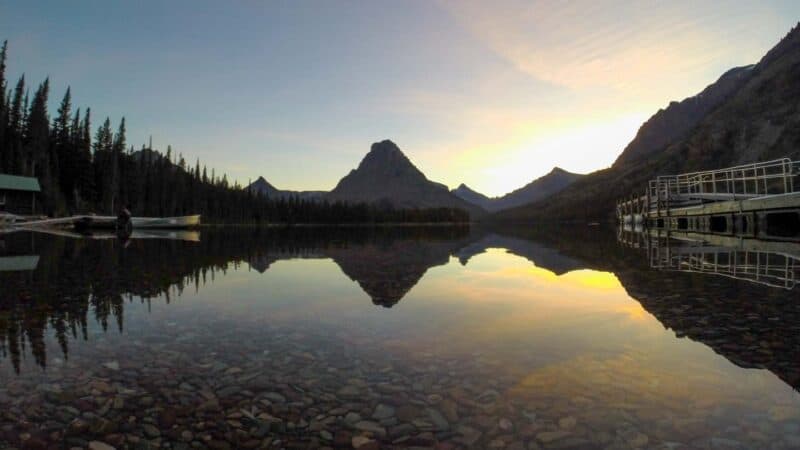
One of the best and easiest compositions to create is called the rule of thirds.
Choose the right timelapse interval
Picking the interval or how often a photo in the timelapse is taken is one of the most important decisions you’ll make when setting up a timelapse. If you are just trying to get clouds moving over a landscape you should watch the clouds and see how fast they are moving. If it’s a windy day and they are moving fast 2 seconds might be good, or on a normal day, 5 seconds will give you more movement.
If you are in a busy subway station and you want to show people moving you might be able to show that with a short of an interval at .5 seconds. One tip to remember is that the longer the interval, the longer you’ll have to let the timelapse run, but the faster the movement will happen.
Put something in the foreground
Just watching clouds far in the distance is ok, but set up your time-lapses by putting something interesting or important in the foreground close to the camera. For example, if you’re on a surf trip and you are taking a timelapse of the sunset, put a surfboard in the frame to give the photo more context and interest.
Avoid using the wide-angle setting
Generally, the wide-angle setting for a timelapse doesn’t work very well. This is especially true when filming outdoors and you have a horizon line like a sunset over the water. The fisheye will distort the horizon and look very unnatural. Plus the wide-angle setting makes everything seem very far away and small.
Make sure there is enough movement
Slow-moving time-lapses are boring. Double-check your setting and your scene to make sure there is going to be enough movement to make your time-lapse worth shooting and editing.
GoPro Tips and tricks underwater
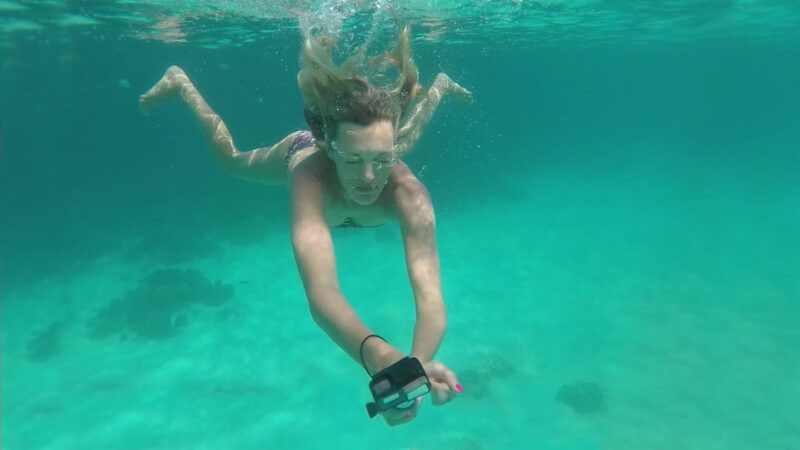
One of the most common uses for a GoPro is getting it wet while snorkeling, diving, or just have fun in the pool.
Don’t use the touchscreen
The technology that makes the touchscreen work, unfortunately, doesn’t work when the screen is wet. However, there is a workaround with a combination of button presses will allow you to access all of the menu items.
Each model camera is slightly different, so check for your specific model – and learn it before jumping in. Alternatively set your camera to your desired setting and as long as you don’t want to make any changes all the physical buttons to take photos and change modes still work.
Use higher frame rates
Underwater footage tends to be shaky while trying to swim with a GoPro in your hand. Combat the shake with high frame rates and slow your footage down later.
Always use a Floaty
There are probably thousands of GoPros on the bottom of the ocean because people forgot to bring an accessory that makes the GoPro float. There are sticks that are buoyant enough to float your GoPro to the surface and some older modes have a bright orange piece of foam that wraps around the GoPro to make it float. Another pro tip is to make sure whichever stick or accessory you choose has a wrist strap!
Get some lights
Even a few feet deep the amount of light is much less than at the surface and everything starts to take on a blue-green hue. If you want some great photos or video from your next snorkel or diving trip make sure to get an underwater dive light for the GoPro.
Skip the red filters
You might have seen other people using a pinkish-red piece of glass over the lens of their GoPro, these are supposed to bring back some of the colors while diving, but honestly, they don’t work very well.
The deeper you go the less light penetrates and the color that is first to fall off is red, hence the red filers. Blue light transmits the furthest and is why water and the sky appear blue and not other colors. While the red filter will add color to your footage, I haven’t seen it make the footage actually look any better. Skip the filters and pick up some lights instead.
GoPro FAQ
Q: What is the GoPro Focal Length?
A: The GoPro full-frame equivalent focal length is 14mm in wide mode.
Don’t Forget to pin me for later!
Comments
Post a Comment